In this post I will discuss installing a Caboose Hobbies ground throw. These inexpensive switch stands are handy to add an operating switch to your layout. They don’t take a lot of space, and are vaguely prototypical. I wouldn’t look to them for extreme realism by any means, but they are a good start and better than no switch stand at all.
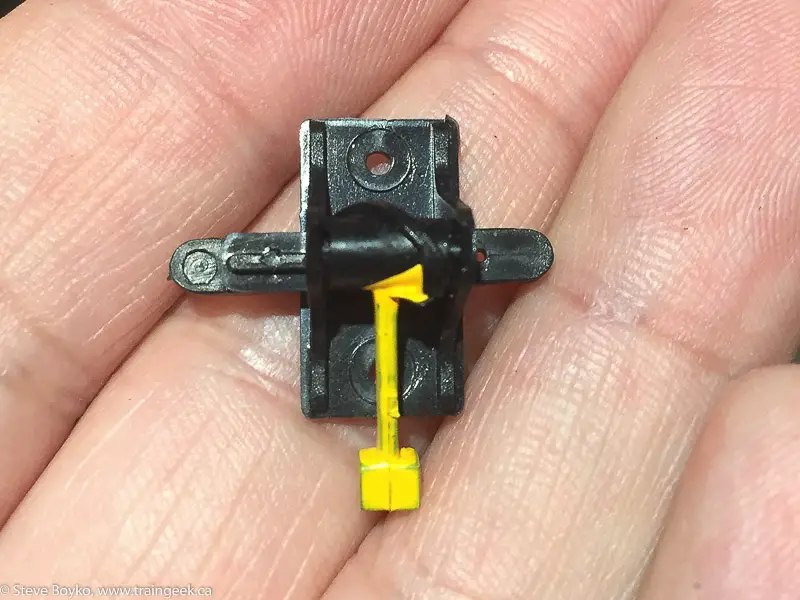
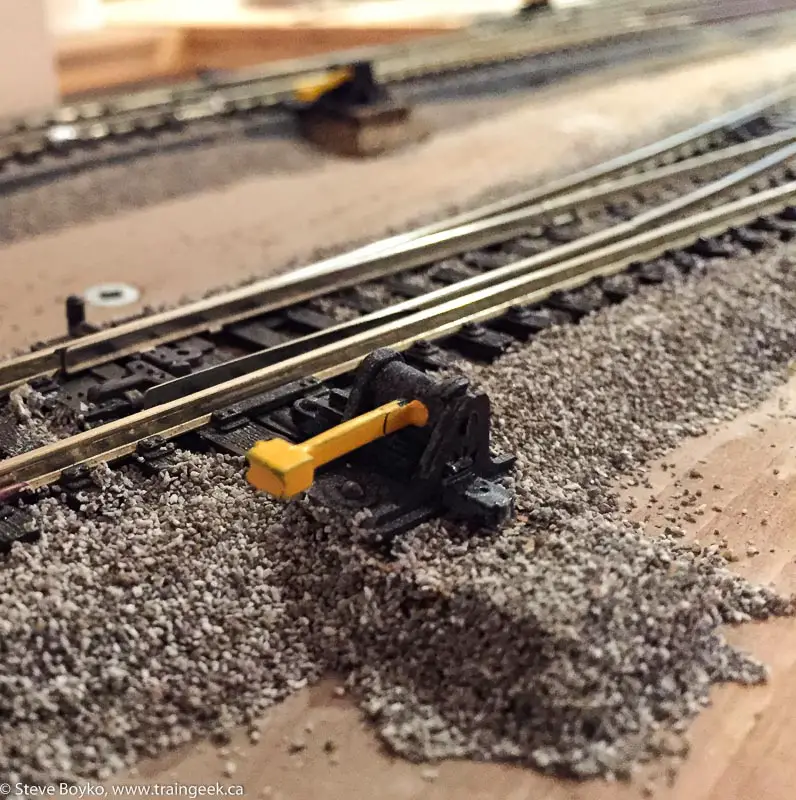
The switch stand itself is quite small.
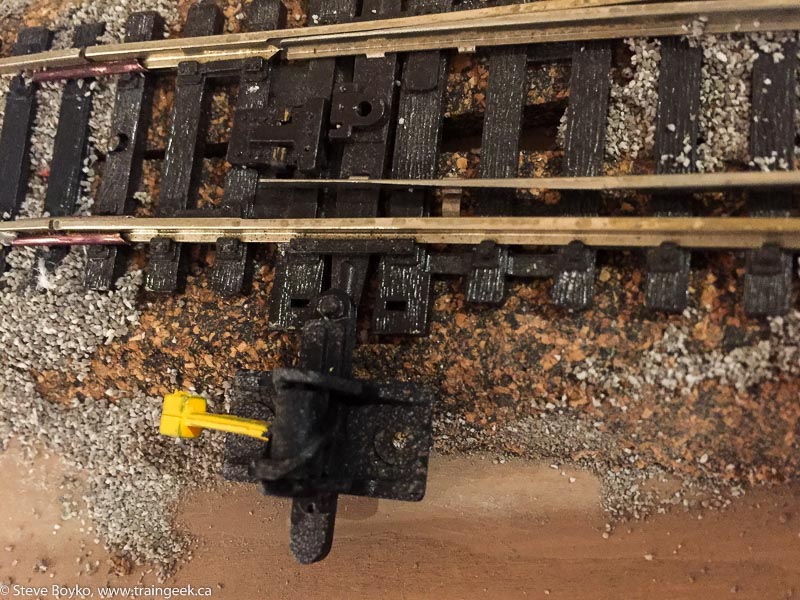
Note that there are two holes in the base for mounting to the layout. I usually use a couple of track nails to secure it to the layout, as I wouldn’t trust glue to A) keep it down after repeated use, or B) to stay out of the mechanism of the switch stand.
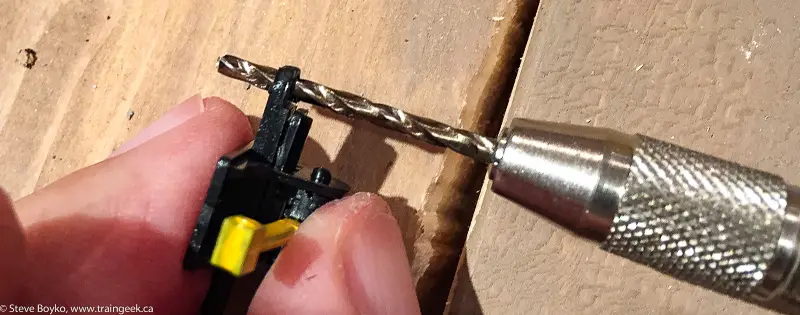
Depending on what type of ground throw you buy, the package may come with different attachments to adapt to the particular kind of switch that you are connecting the stand to. I use Peco turnouts/switches, so all I want out of my ground throw is a hole in the traveling arm to slip over the top of the Peco switch… like the photo below.
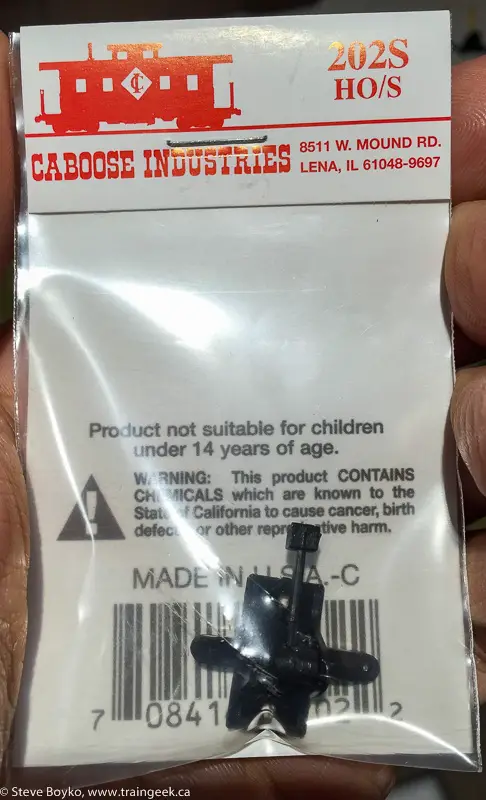
That’s a #202S, a basic ground throw with no attachments.
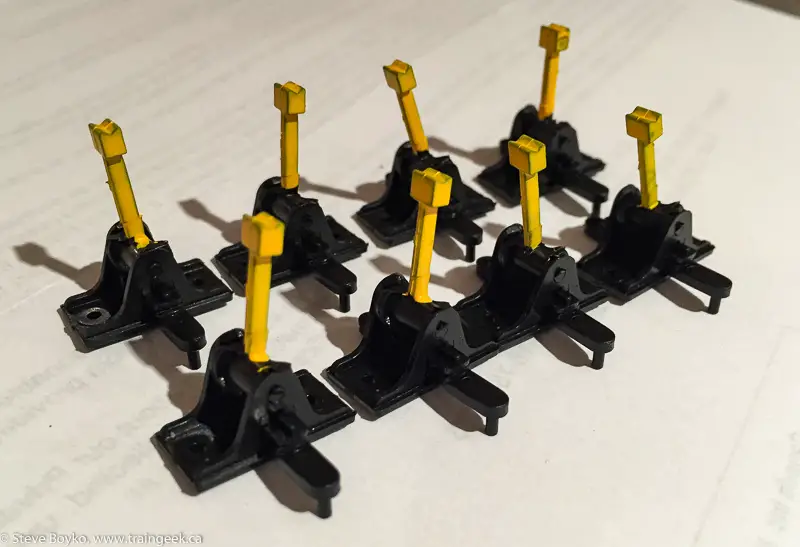
I like to paint the handle yellow, to make them more visible and more prototypical. Here I painted them in bulk, using some old Testor’s paint I had lying around.
I use a small drill bit to make a hole in the ground throw’s arm and then slip the ground throw over the nub on the Peco switch. It’s a snug fit and it never comes off.
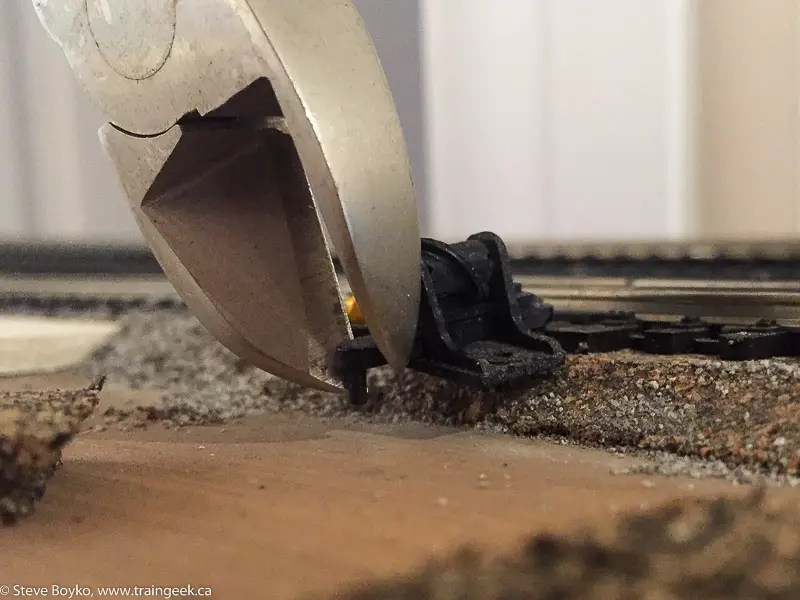
If the ground throw has any attachments on the non-switch side, I cut ’em off so they don’t catch. Don’t trim too close to the switch but cut off what you can.
Making a Base
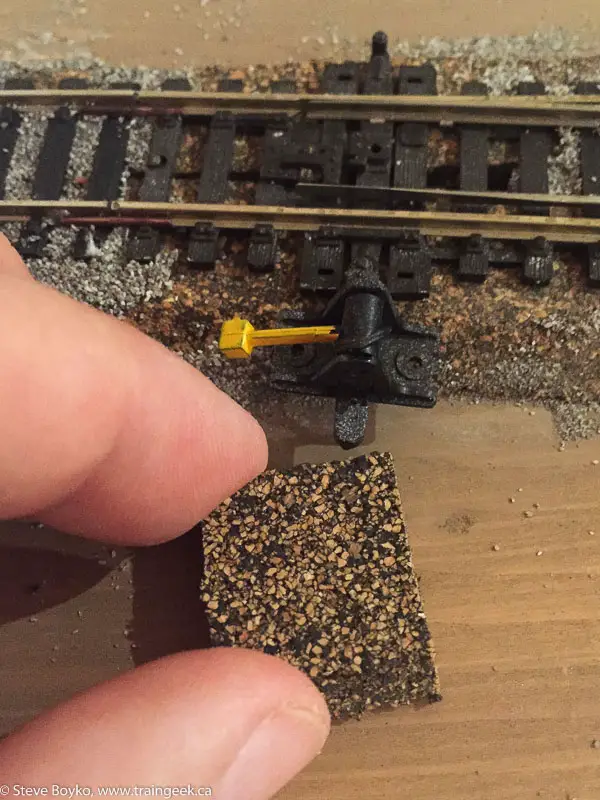
Note that the switch stand is hovering in mid-air. I usually cut a piece or two of cork and slide it/them under the ground throw to give it something to sit on. I bevel the edges of the cork with a hobby knife so the ground slopes away from the switch stand.
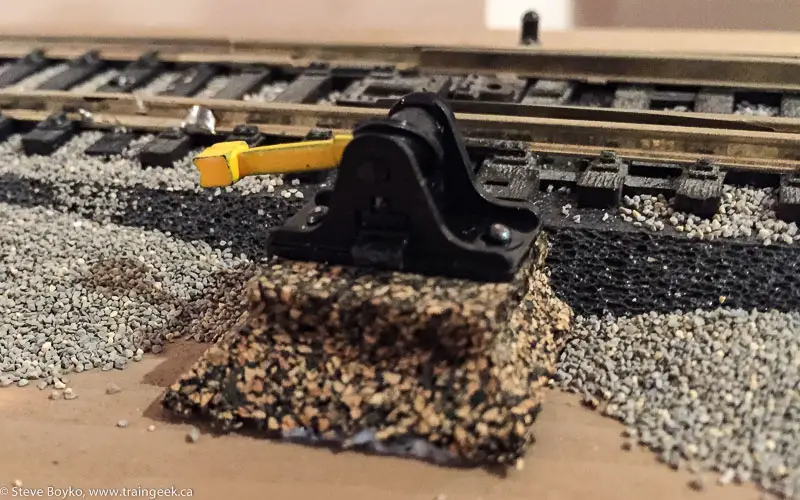
I usually put some glue on the underside of the cork, slide it in, and then spike the switch down through the two holes in the switch stand. These spikes also hold the cork in place along with the glue.
Then I ballast up to and around the switch. Sometimes I will put grass or ground foam on the outside instead of ballast.
What Side?
One challenge is to decide what side of the switch to install these stands on. Sometimes the decision is made for you – only one side is open – but in some cases you have a choice to make.
At this pair of switches, I could put the ground throws on either side. The choice was to put them closer to the aisle / operator, but in between two sets of tracks:
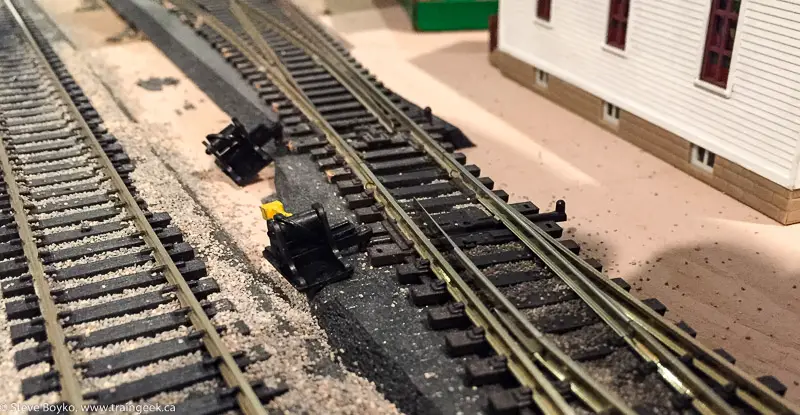
The other option was to put them farther away from the operator but also free from any obstructions.
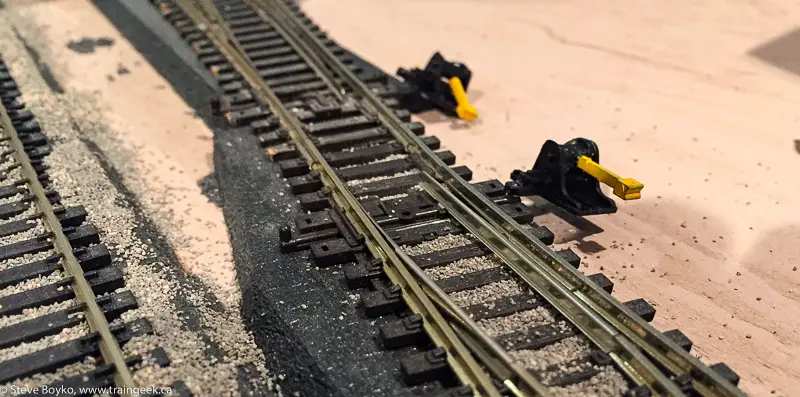
I elected to do the latter, for a couple of reasons:
- less likely to be blocked by standing cars on the siding (the track at left in the photos), and
- easier to install
In general I like to install them on the aisle side of the tracks to make them easier to see and reach, but in this case I reasoned that cars standing on the siding would obscure the view and reach. It made sense to me to locate them farther away.
Find Caboose Hobbies ground throws at your local model train shop, and give them a try!