I am in the midst of installing backdrops for my model train layout. Backdrops provide the background for your scenery and hide all the ugly stuff that might be behind your layout. For example, the Woodland Scenics risers I use to bring the CP Rail line up to the stacked staging work well, but they are ugly.

So a backdrop is in order. The first step is to obtain the material. Many people use masonite / hardboard as it is cheap, readily available and flexible enough to bend around curves. Others use sheet styrene, drywall, or aluminum flashing. I chose hardboard. At about $15 for a 4’x8′ sheet, it is quite inexpensive. I had the hardware store cut it into two 2’x8′ pieces.
I brought the hardboard home and primed it in my garage using a spray can. The colour is unimportant as it is just primer.

Always spray paint in a well ventilated area. I had the garage door open while I was painting and closed it after a while to prevent the wind from blowing the newspaper around.
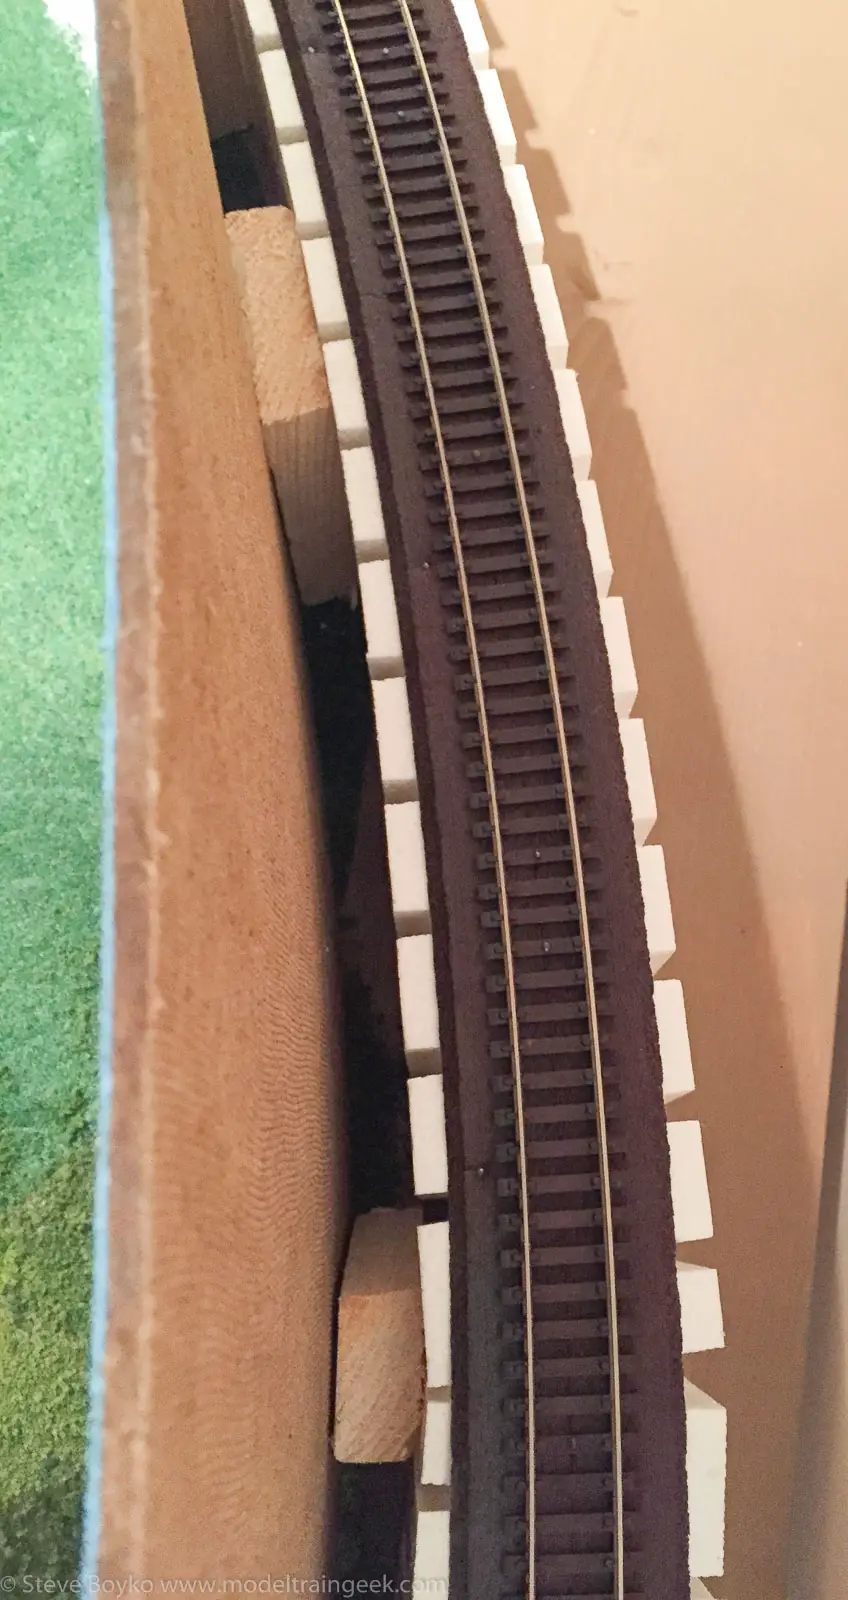
The next step was to provide something for the backdrop to attach to. I decided I would glue it to the risers but I had to provide enough space between the backdrop and the track for cars to go around the curves without rubbing against the backdrop. I used some scrap wood as spacers and glued them to the risers. I used No More Nails for all my gluing as it is strong, sets quickly and adheres to foam and wood equally well.
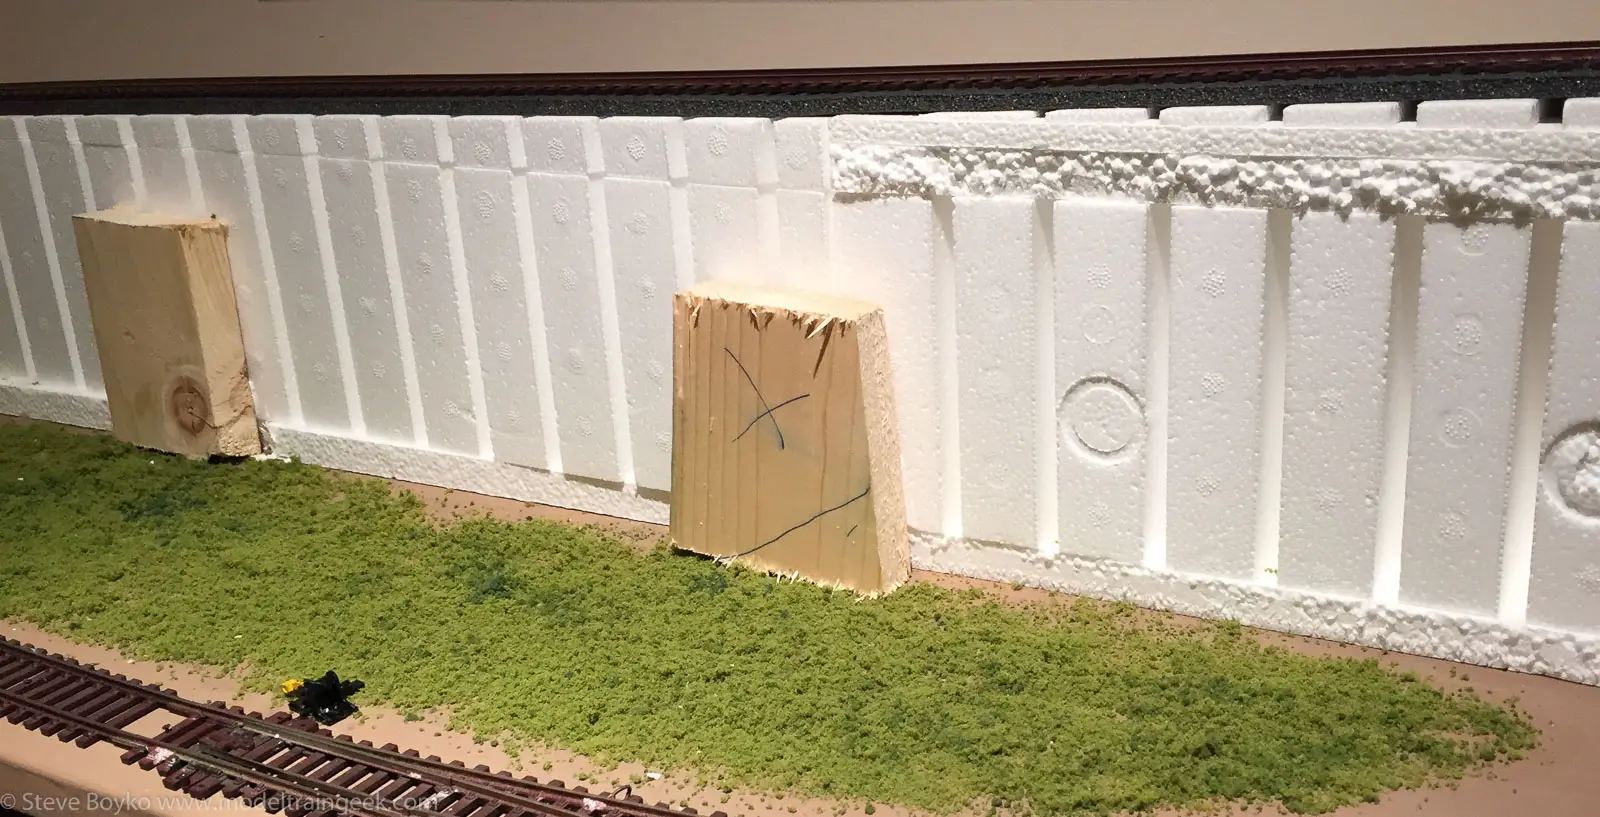
Once the spacers were set, I positioned the backdrop in place. Sadly I discovered that a 2′ high backdrop was too high for what I wanted. So I got my sabre saw out and cut it in half to get a 1′ high backdrop. I wish I had realized that earlier and had the lumber yard cut it, as they would do a better job than I did. A table saw would have done a nicer job but I don’t have one.
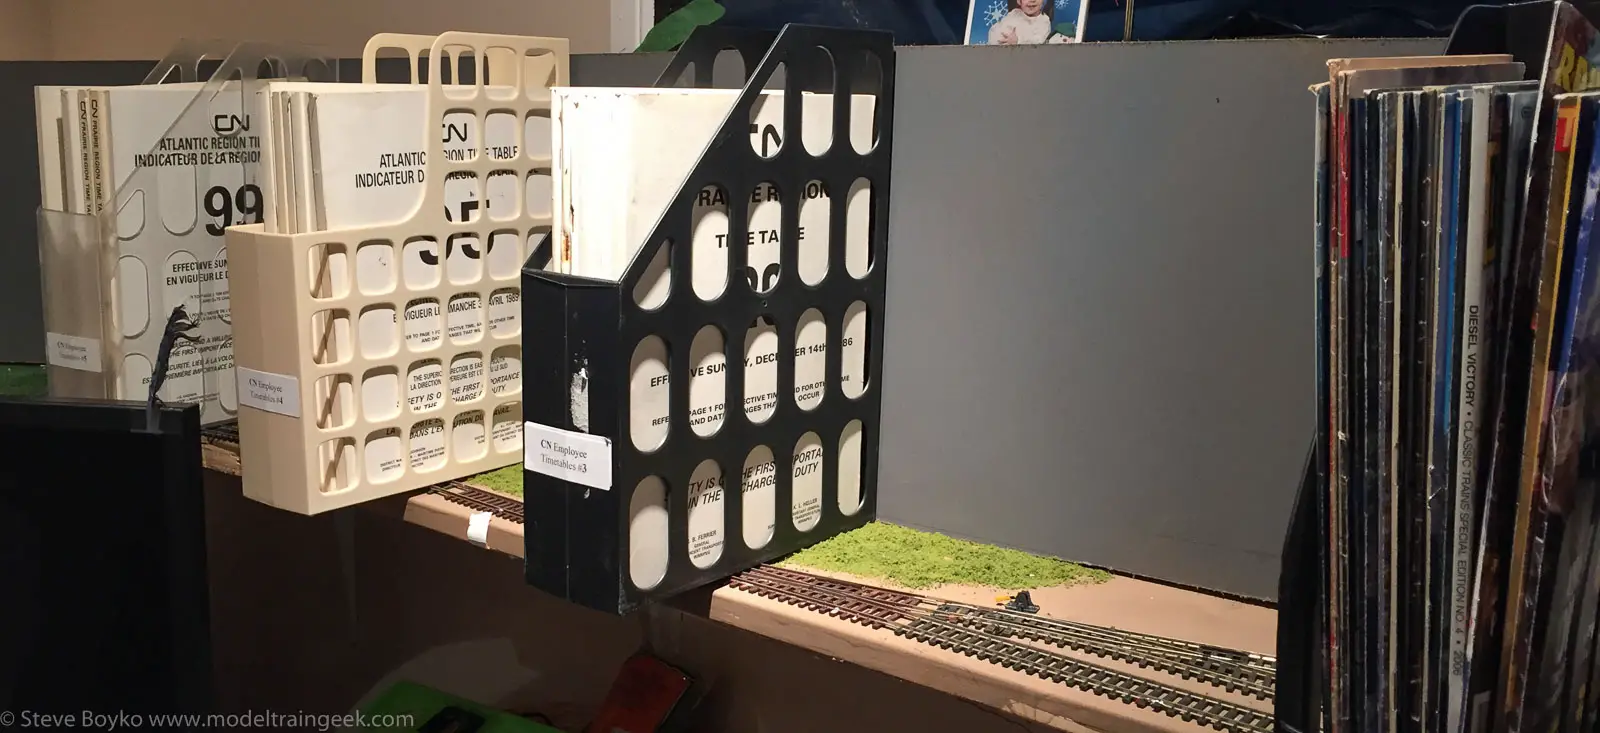
I liberally applied No More Nails to the spacers. I put the “bad” edge down onto the layout and pressed the backdrop against the spacers, then propped some heavy items against the backdrop to keep it firmly against the spacers until the glue set. Timetables do the trick!
I did a section of the backdrop at a time, waiting 24 hours for the glue to completely set before bending the backdrop around the curves. Even just a primed backdrop improves the scene.
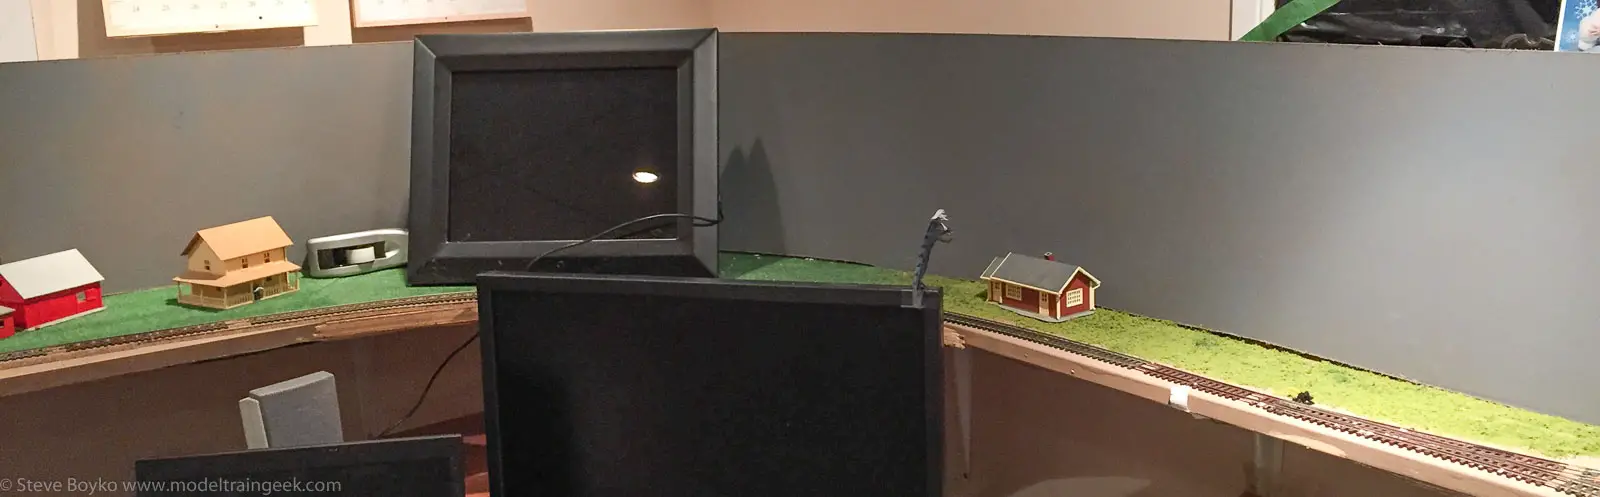
This is what it looks like behind the backdrop.
The next step was to paint the backdrop. I suppose I could have painted it before installing it but I didn’t have a lot of scenery in place, so it was just as easy to paint it on the layout. I had a helper for this step.
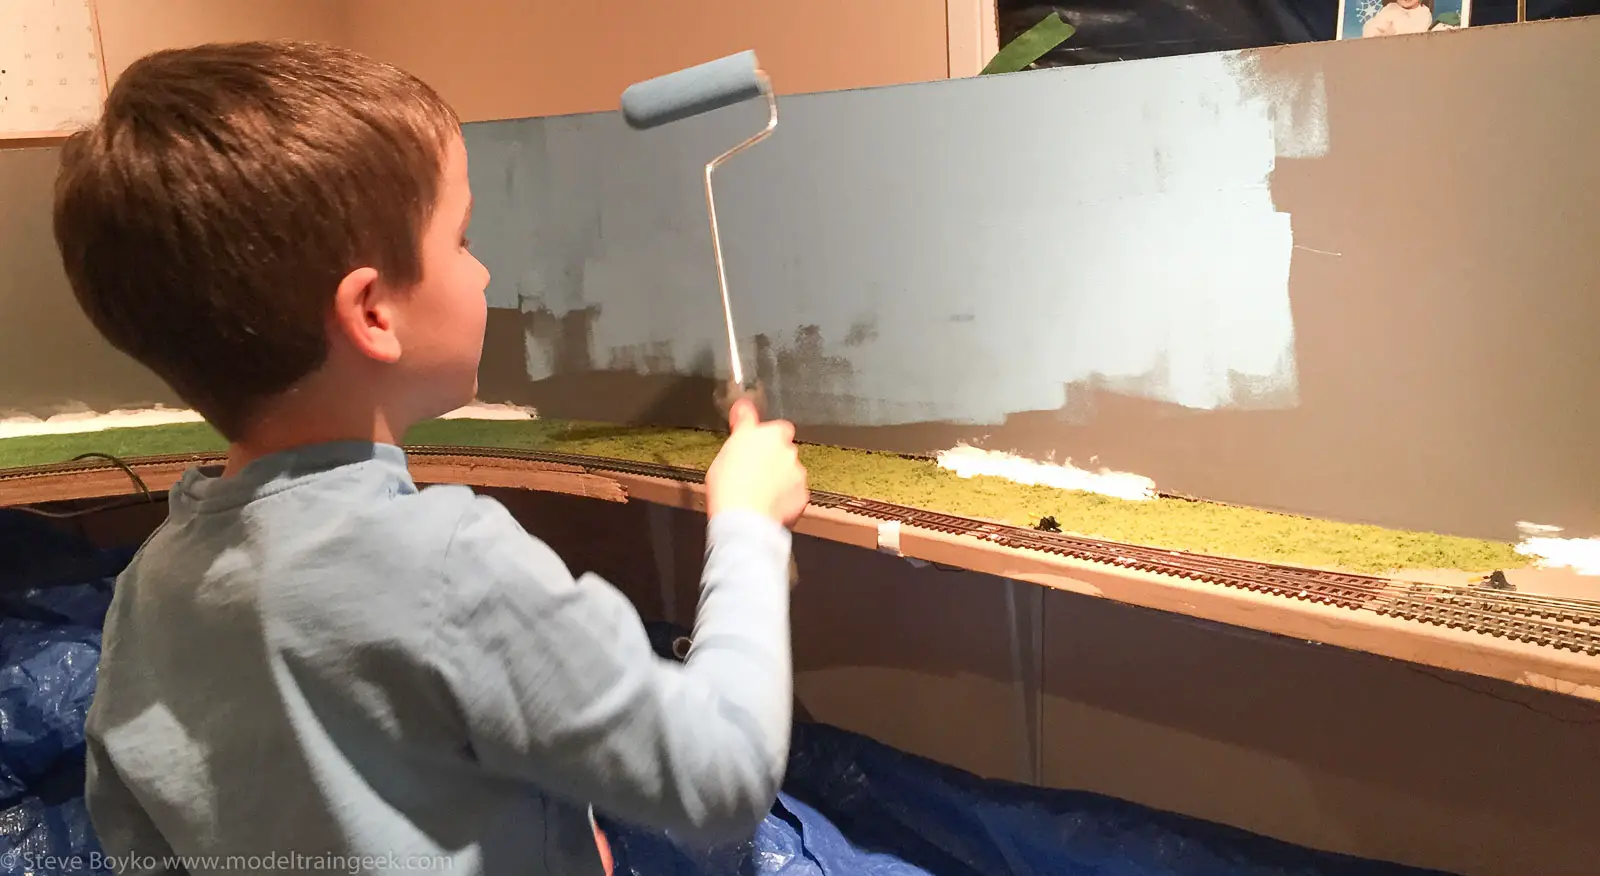
Note that I started filling in the uneven bottom of the backdrop with some plaster. I intend to disguise the transition from layout to backdrop with some ground clutter.
Here’s how it looks now that the sky is painted in.
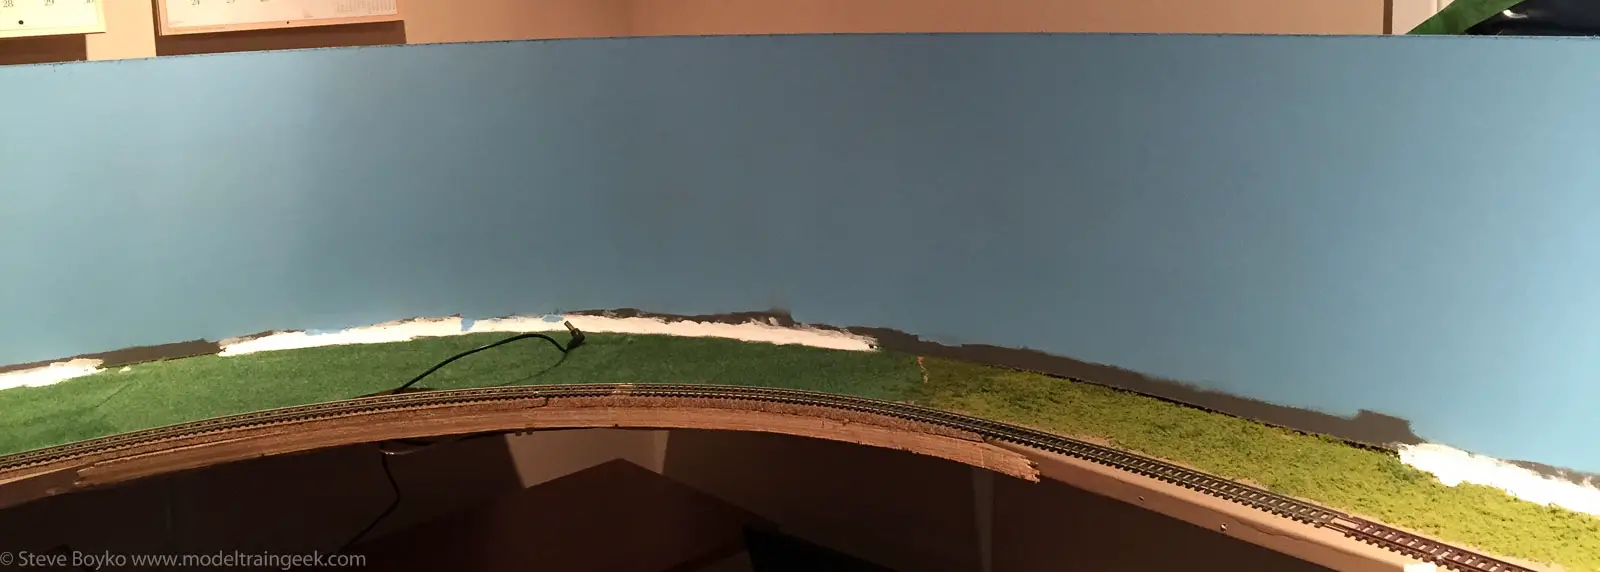
I will be painting the bottom in the next couple of days. I intend to just paint indistinct shapes as I don’t really want to draw attention to the backdrop with any detailed painting. I know some people use photo backdrops and/or photos pasted onto backdrops but that’s not what I want to do.
Thanks for reading, and happy new year!
The Amazon links in this post are affiliate links, meaning I will earn a small commission at no additional cost to you if you purchase something using these links.